DIY Otter Costume: A Step-by-Step Guide For All Ages
Creating your own otter costume might sound like a big challenge, but trust me, it’s way easier than you think. Whether you’re planning a Halloween party, a themed event, or just want to dress up for fun, this step-by-step guide will help you craft an otter costume that’s adorable, unique, and perfect for any age. From toddlers to adults, everyone can rock this cute look with a little creativity and effort. So, let’s dive in and start crafting!
There’s something magical about otters. They’re playful, quirky, and undeniably cute. What better way to channel that charm than by creating a DIY otter costume? This guide is designed to walk you through every step, from gathering materials to putting the final touches on your masterpiece. You don’t need to be a professional seamstress or costume designer—just a bit of patience and a willingness to get crafty.
Whether you’re a parent looking for a fun family activity or someone who loves DIY projects, this step-by-step guide will give you all the tools you need to create a costume that’s as adorable as it is unique. Let’s turn those crafting dreams into reality and make your otter costume unforgettable!
- P Diddy House Raids An Indepth Look At The Controversies And Implications
- P Diddy Rafting An Adventure Beyond Music
Why Choose an Otter Costume?
Before we jump into the nitty-gritty of how to create a DIY otter costume, let’s talk about why otters are the perfect choice for your next costume adventure. Otters are known for their playful nature and their ability to make anyone smile. They’re also incredibly versatile when it comes to costume design. You can go for a super realistic look or take a more cartoonish approach depending on your preference.
Plus, otter costumes are great for all ages. Kids love the idea of dressing up as these cute creatures, while adults can have fun experimenting with different styles and designs. It’s a costume that’s guaranteed to turn heads and spark conversations wherever you go. So, why not embrace the otter vibe and create something truly special?
What You’ll Need: Materials and Tools
Now that you’re ready to dive into the world of DIY otter costumes, let’s talk about what you’ll need to get started. Gathering the right materials and tools is key to ensuring your costume turns out exactly how you envision it. Here’s a quick list to help you prepare:
- Is There An Arrest Warrant For P Diddy Understanding The Legal Landscape
- Where Is P Diddy Exploring The Life And Times Of Sean Combs
- Fabric: Choose soft, fuzzy fabric like faux fur or fleece to mimic an otter’s coat.
- Sewing Kit: Basic sewing tools including needles, thread, scissors, and a sewing machine (if you have one).
- Stuffing: Polyester fiberfill or any soft material to give your costume some shape.
- Decorative Items: Buttons, felt, or fabric paint for adding details like eyes, noses, and paws.
- Mask Template: If you’re making a mask, you’ll need some cardboard, elastic bands, and paint.
Don’t worry if you don’t have all these materials on hand. Most of them can be found at your local craft store or even online. Just make sure to plan ahead so you have everything you need before starting your project.
Tips for Choosing the Right Fabric
When it comes to creating a DIY otter costume, the fabric you choose can make or break the final look. Opt for materials that are soft, warm, and easy to work with. Faux fur is a popular choice because it mimics the otter’s natural coat, but if you want something simpler, fleece or velour can work just as well. Remember, the goal is to make your costume cozy and comfortable, especially if you’re planning to wear it for an extended period.
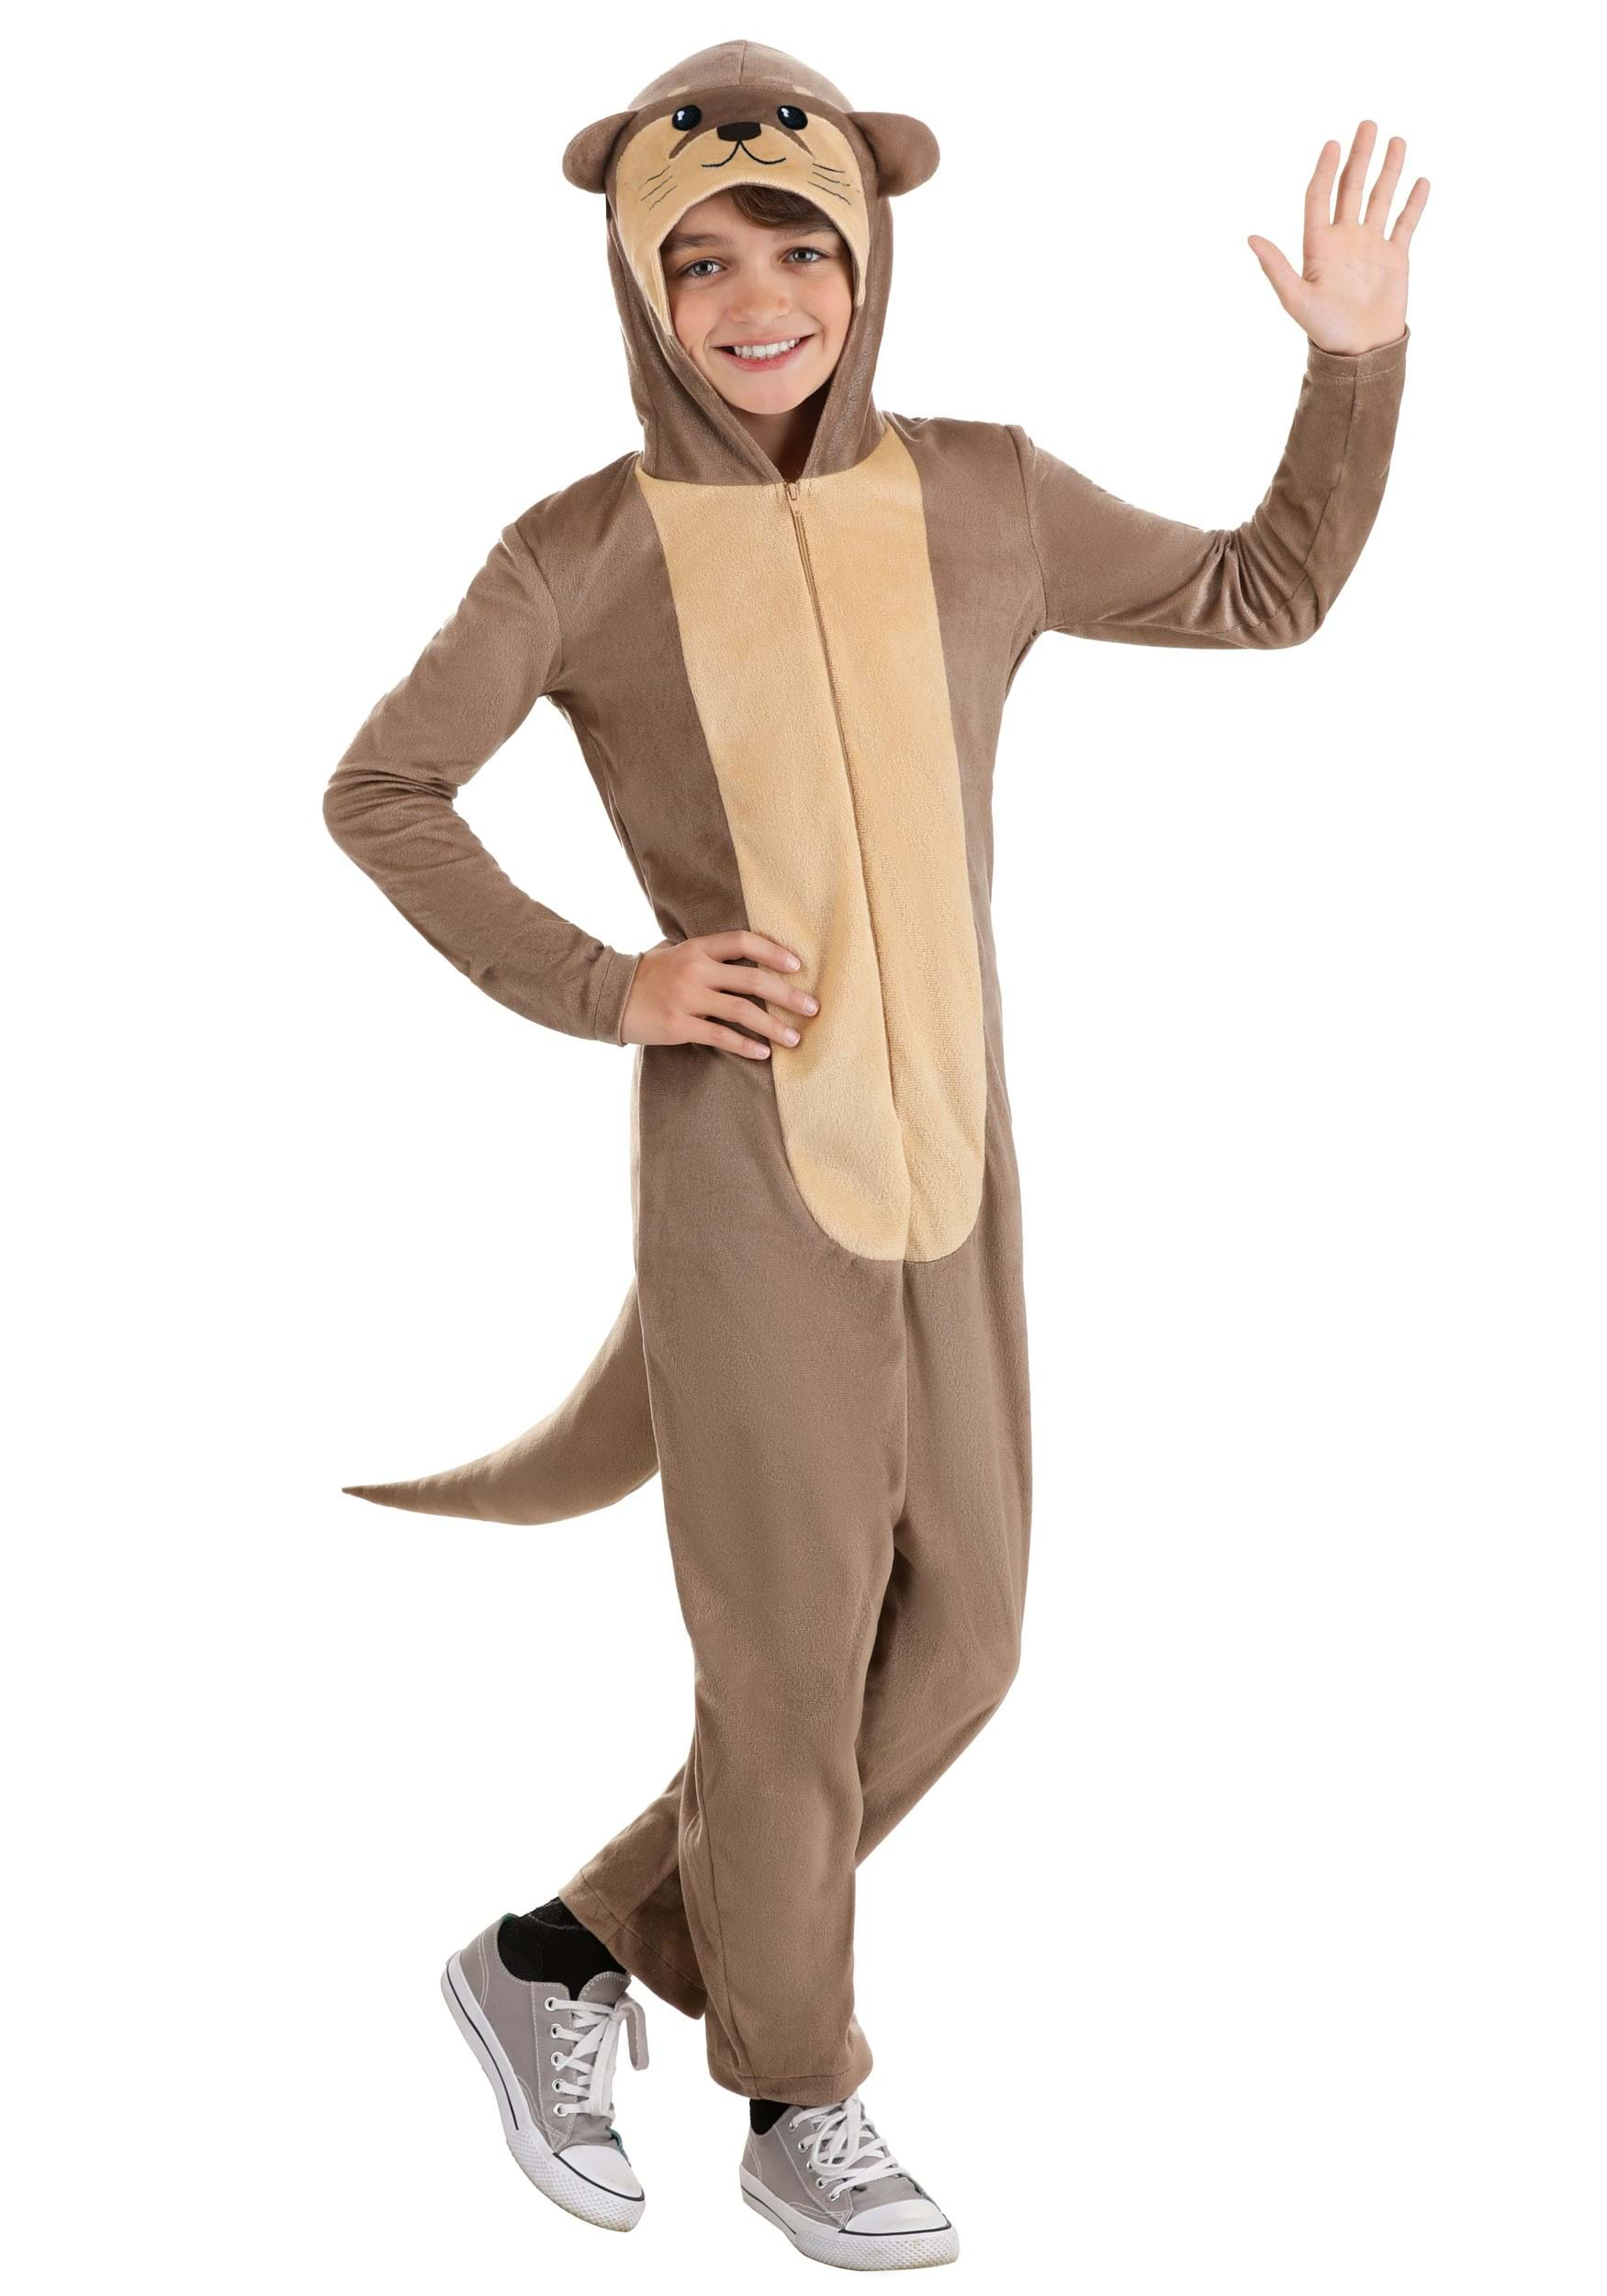
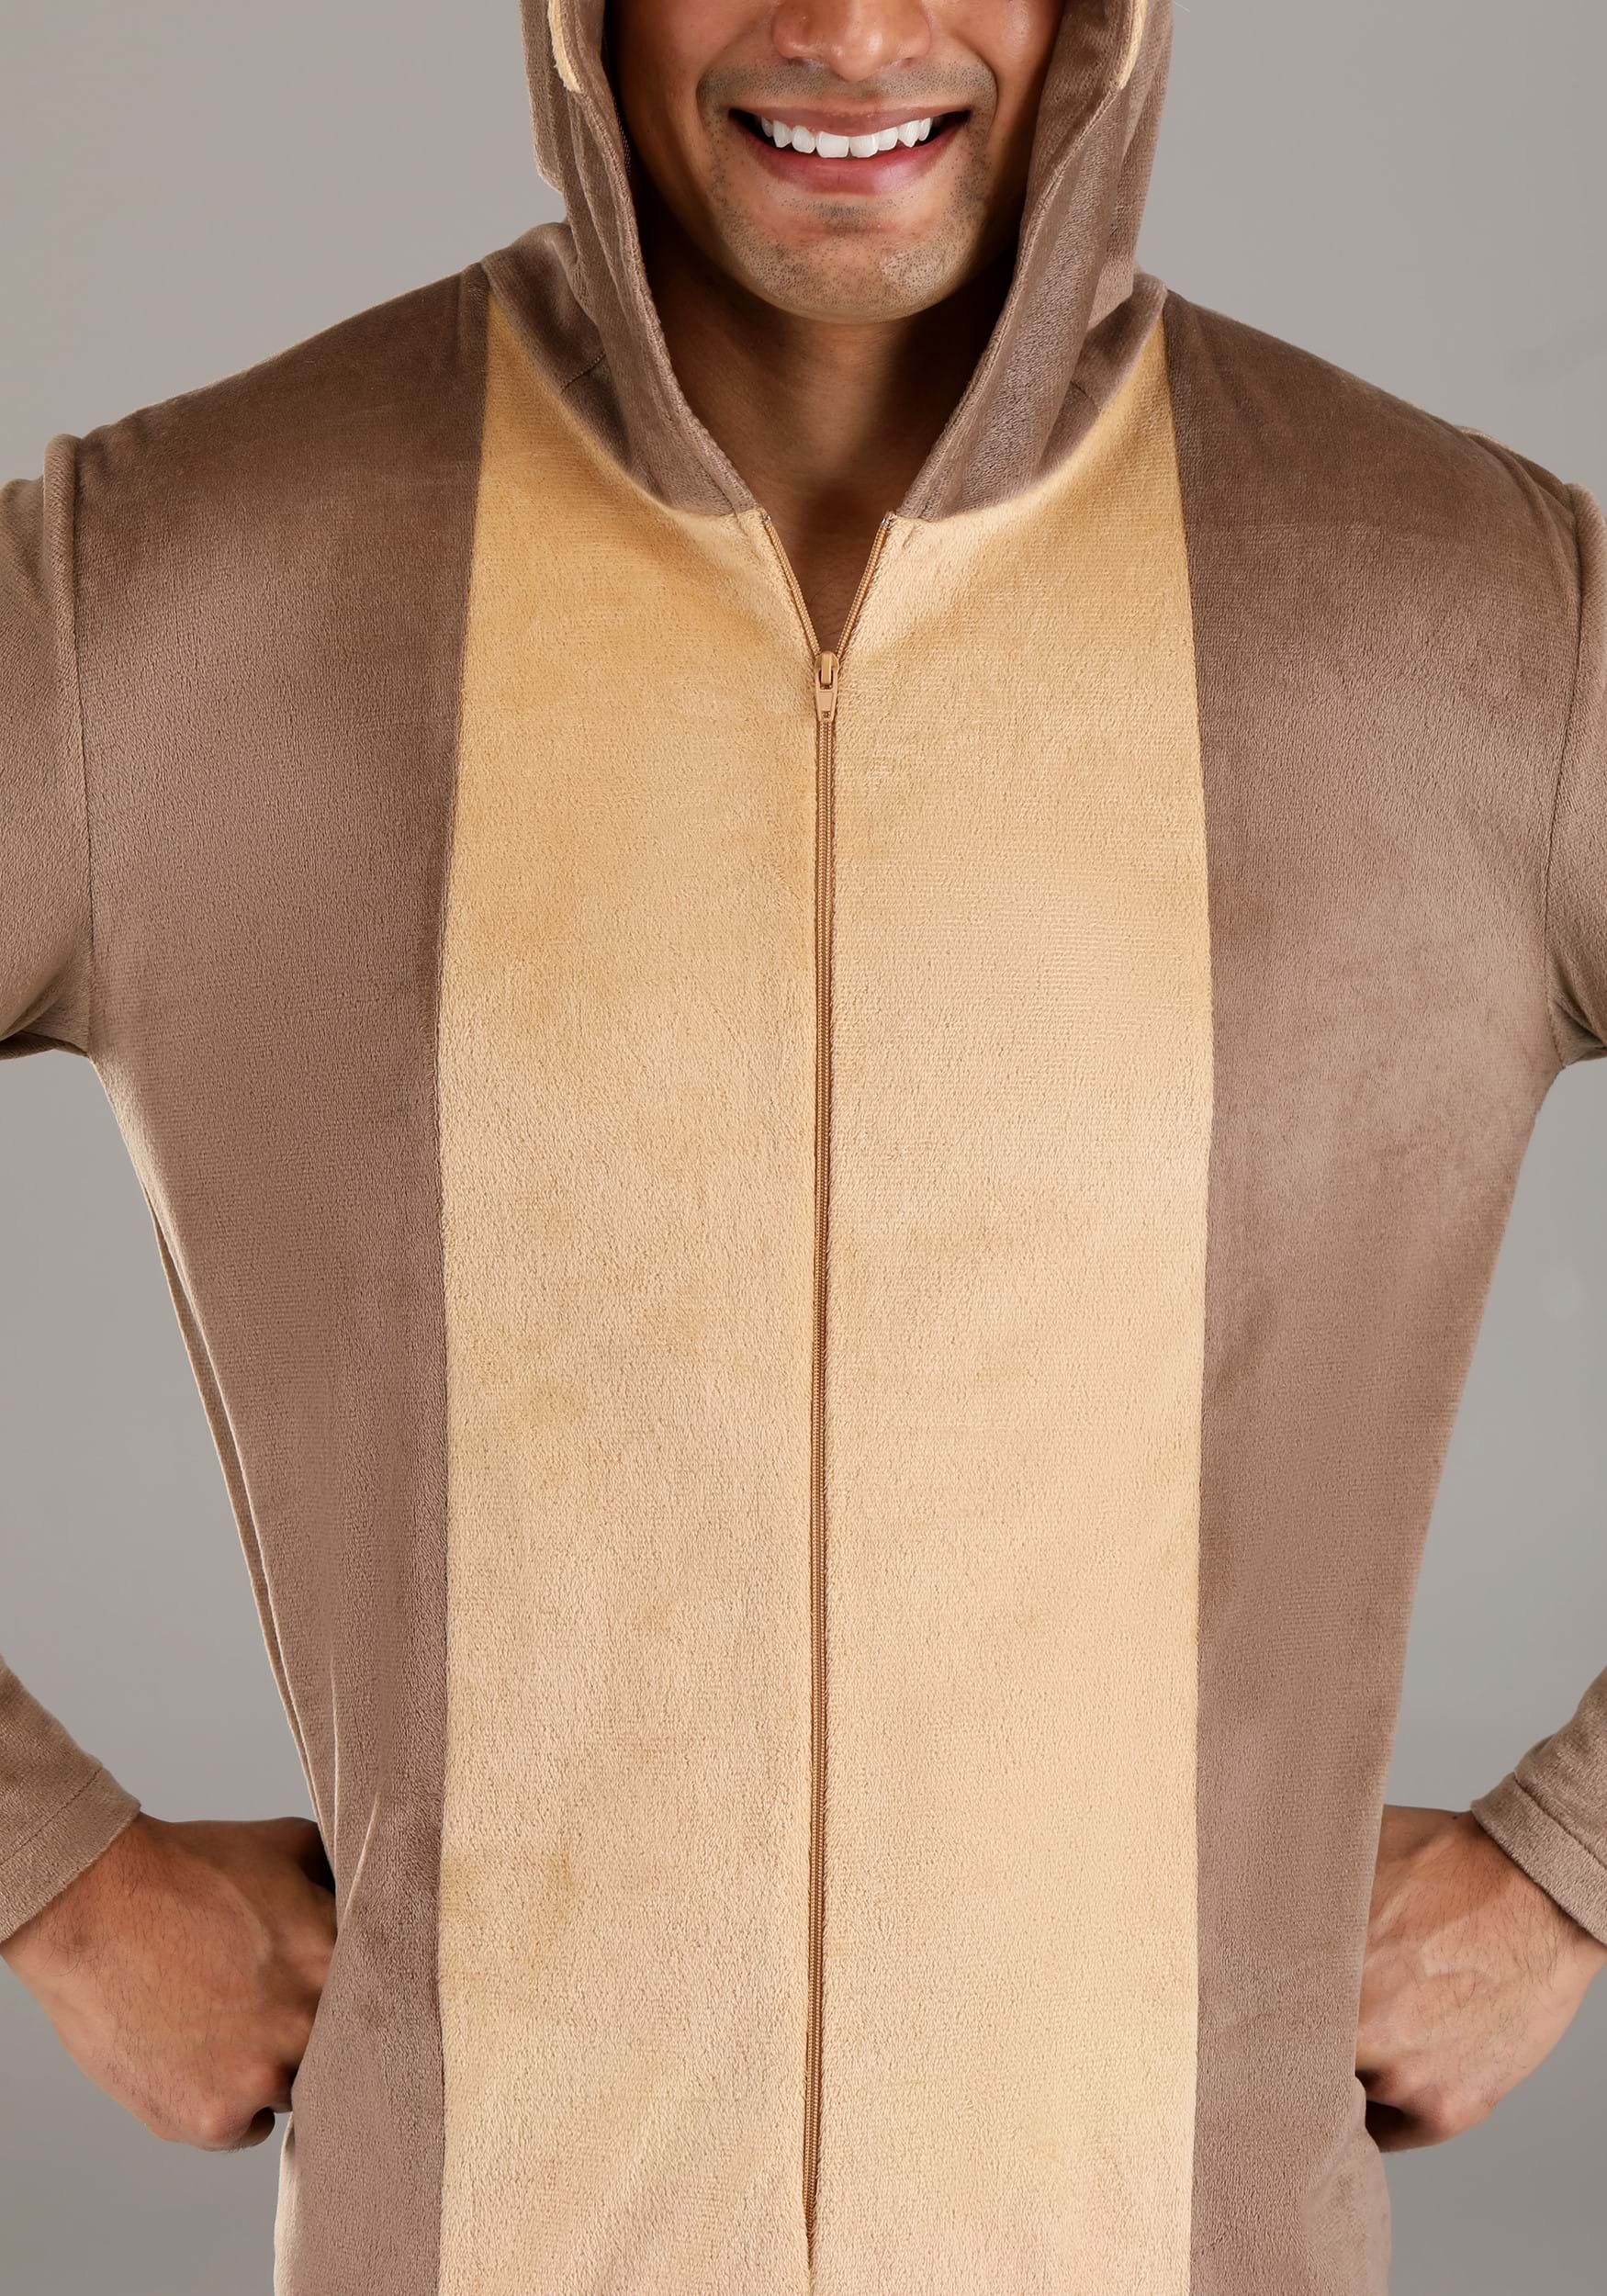
Step 1: Design Your Otter Costume
Before you start cutting and sewing, it’s important to design your otter costume. This step is crucial because it will serve as your blueprint for the entire project. Start by sketching out your ideas or finding inspiration online. Decide whether you want a full-body costume, a simple vest, or even just a cute otter mask. The possibilities are endless!
For kids, a simple onesie or hoodie design might be the easiest option. Adults, on the other hand, might want to go for something more elaborate, like a full-body suit with tail and paws. Whatever you choose, make sure it fits your skill level and the occasion you’re dressing up for.
Creating a Pattern
Once you’ve settled on a design, it’s time to create a pattern. You can either draw your own or download pre-made patterns online. If you’re drawing your own, use a large piece of paper and trace the basic shapes of the otter’s body, head, and limbs. Don’t forget to include details like ears, paws, and a tail. This pattern will guide you as you cut and sew your fabric, so take your time to ensure it’s accurate.
Step 2: Cutting and Sewing
Now that you have your pattern ready, it’s time to start cutting and sewing. This is where the real fun begins! Begin by laying out your fabric on a flat surface and pinning your pattern pieces onto it. Carefully cut out each piece, making sure to leave a small seam allowance for sewing.
Once you’ve cut out all the pieces, it’s time to start sewing. If you’re new to sewing, don’t worry—there are plenty of online tutorials to help you get started. Begin by sewing the body pieces together, followed by the head, limbs, and tail. Remember to leave a small opening in each piece so you can turn them right side out and stuff them later.
Adding the Final Touches
With your main pieces sewn together, it’s time to add the finishing touches. Use fabric paint or felt to create the otter’s facial features, including the eyes, nose, and mouth. You can also add buttons or embroidery for extra detail. Don’t forget to sew on the paws and tail to complete the look. These small details can make a big difference in how realistic and adorable your costume turns out.
Step 3: Making the Mask
If you’re going for a full otter experience, a mask is a must-have. Masks are relatively easy to make and can add an extra layer of authenticity to your costume. Start by cutting out a mask shape from cardboard and painting it to match your otter’s fur color. Add details like ears, whiskers, and facial features using paint or felt. Once your mask is dry, attach elastic bands to hold it in place.
For a more comfortable option, consider using a plain hood or ski mask as the base for your otter mask. Simply cut out the eyes and mouth and add fabric or felt details to create the otter’s face. This way, you’ll have a mask that’s both stylish and practical.
Customizing Your Mask
One of the best things about DIY projects is the ability to customize them to your liking. If you want your otter mask to stand out, try adding some unique touches. You could use glitter paint for a sparkly effect, or add 3D elements like foam shapes for a more dimensional look. The sky’s the limit when it comes to creativity, so don’t be afraid to experiment!
Step 4: Adding Accessories
No otter costume is complete without accessories. Think about what accessories would enhance your otter look. A pair of goggles or a snorkel can give your otter a playful, aquatic vibe. You could also add a small stuffed fish or clamshell to hold in your hands, mimicking the way real otters use tools to crack open their food.
For a more whimsical touch, consider adding a scarf, hat, or even a little backpack to your costume. These accessories can add personality and make your otter stand out from the crowd. Just remember to choose accessories that complement your overall design and theme.
DIY Otter Accessories
If you’re feeling extra crafty, why not make your own accessories? You can create a pair of goggles using old sunglasses or a snorkel from a piece of PVC pipe. A stuffed fish can be made using fabric scraps and stuffing, while a clamshell can be crafted from cardboard and paint. These homemade accessories not only add to the charm of your costume but also give you a sense of accomplishment.
Step 5: Testing and Adjusting
Once your otter costume is complete, it’s time to test it out. Try it on to see how it fits and feels. Make any necessary adjustments to ensure it’s comfortable and easy to move in. This might involve trimming excess fabric, tightening elastic bands, or adding extra stuffing to certain areas. Remember, the goal is to create a costume that looks great and feels great to wear.
Don’t forget to take some practice photos to see how your costume looks in action. This will help you identify any areas that need improvement and give you a chance to show off your hard work. Plus, it’s always fun to capture the moment and share it with friends and family.
Tips for Wearing Your Otter Costume
Now that your otter costume is ready, here are a few tips to help you make the most of it:
- Practice walking in your costume to get used to the added bulk and weight.
- Wear comfortable clothing underneath to ensure you stay warm and cozy.
- Bring a small bag or pouch to carry essentials like your phone or snacks.
- Have fun and embrace the otter spirit—after all, otters are all about playfulness!
Conclusion: Embrace Your Inner Otter
Creating a DIY otter costume is a rewarding and fun experience that anyone can enjoy. By following this step-by-step guide, you’ve learned how to design, sew, and accessorize your very own otter costume. Whether you’re dressing up for a special occasion or just for fun, your otter costume is sure to be a hit.
So, what are you waiting for? Grab your materials, put on some music, and get crafting! And don’t forget to share your otter masterpiece with the world. Who knows, you might inspire others to try their hand at DIY costumes too. Happy crafting, and remember—be playful, be creative, and above all, be yourself!
Table of Contents
What You’ll Need: Materials and Tools
Step 1: Design Your Otter Costume
Conclusion: Embrace Your Inner Otter
- Why Is Everyone Talking About P Diddy
- P Diddy Pacing In Airport A Closer Look At The Iconic Rappers Travels

How To Create A DIY Otter Costume StepbyStep Guide For All Ages
Otter Kid's Costume
Otter Adult Costume
