How To Create DIY Deer Ears: A Step-by-Step Guide For Cosplay And Fun
Ever wondered how to create DIY deer ears that look amazing for cosplay or just a fun day out? Well, you're in the right place! Creating your own deer ears can be an exciting project, whether you're planning for a costume party, Halloween, or just want to spice up your everyday look. This guide is packed with tips, tricks, and step-by-step instructions to make your crafting experience a breeze.
DIY deer ears are not only cost-effective but also a great way to express your creativity. With a little bit of effort and the right materials, you can create something truly unique that reflects your personal style. So, why spend a fortune on store-bought accessories when you can make your own?
Whether you're a seasoned cosplayer or a beginner just looking for a fun craft project, this step-by-step guide will walk you through everything you need to know. Let's dive in and get crafting!
- P Diddy Sex Parties An Indepth Exploration Of Controversies And Culture
- Who Is P Diddy Dating Now A Comprehensive Look Into His Love Life
Why DIY Deer Ears Are Worth the Effort
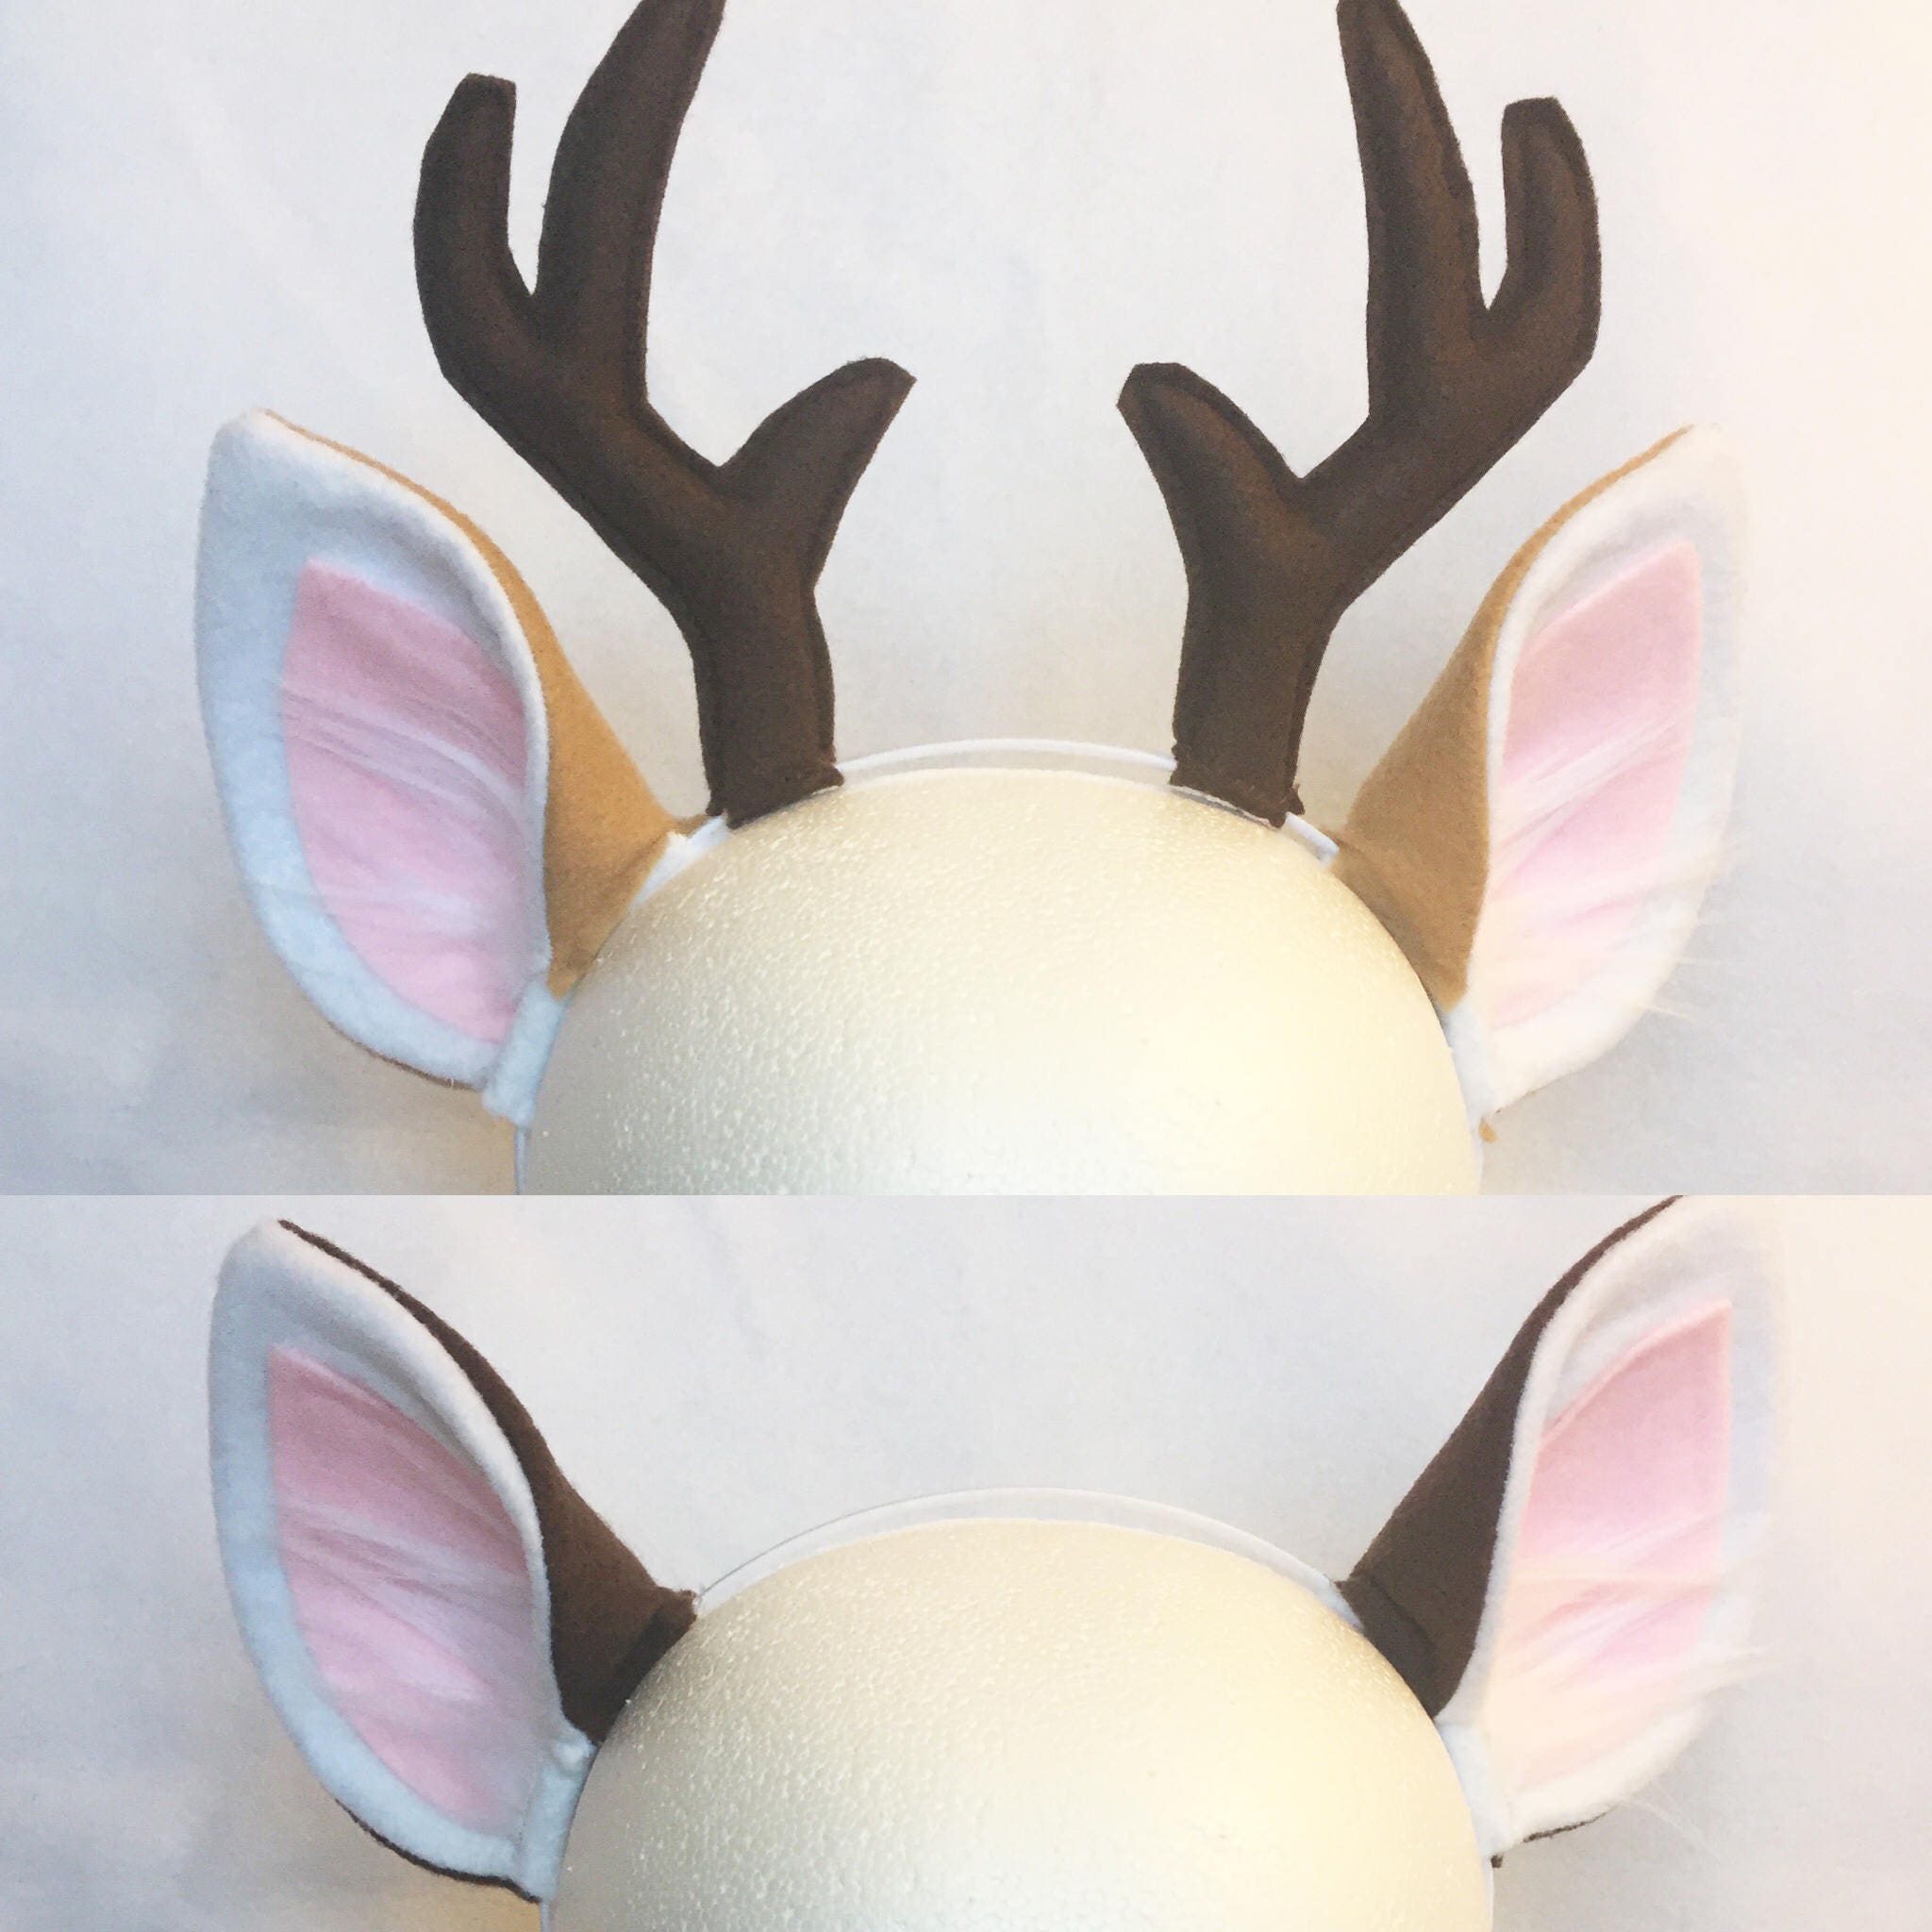
There’s something magical about deer ears—they instantly add a whimsical touch to any outfit. But why go the DIY route? For starters, making your own deer ears ensures they fit perfectly and match your style. Plus, it's a fun activity that can bring out your inner artist. Here's why DIY deer ears are worth every second of effort:
- Customization: You can choose colors, patterns, and materials that suit your vibe.
- Cost-effective: Crafting your own saves money compared to buying ready-made ones.
- Personal satisfaction: The pride of creating something with your own hands is unmatched.
What You’ll Need to Create DIY Deer Ears
Before we jump into the step-by-step process, let’s talk about the materials and tools you’ll need. Having everything ready beforehand will make the crafting process smoother and more enjoyable. Here's the list:
- Foam sheets (preferably thick and sturdy)
- Hot glue gun and glue sticks
- Headband (fabric or plastic)
- Fabric of your choice (felt, velvet, or any other material you like)
- Scissors
- Pen or marker
- Paint or markers for detailing
Pro tip: If you're going for a specific theme, like woodland or pastel vibes, pick materials that align with that aesthetic. It’ll make your deer ears pop!
- P Diddy Married To Exploring The Life And Relationships Of Sean Combs
- P Diddy Ventura Video The Impact And Significance Of A Cultural Phenomenon
Step-by-Step Guide: How to Create DIY Deer Ears
Now that you have all your materials ready, let’s break down the process into easy-to-follow steps. Don’t worry if you’re new to crafting—this guide is designed to be beginner-friendly.
Step 1: Design Your Deer Ears
Start by sketching the shape of the deer ears on a piece of paper. You can make them as realistic or cartoony as you like. Once you’re happy with the design, trace it onto the foam sheet using a pen or marker. Cut out the shapes carefully with scissors.
Step 2: Cover the Foam Ears
Now it’s time to cover the foam ears with fabric. Cut out two pieces of fabric for each ear, slightly larger than the foam shapes. Use hot glue to attach the fabric to the foam, making sure to fold the excess fabric over the edges for a clean finish.
Step 3: Add Details
This is where the magic happens! Use paint or markers to add details like spots, stripes, or shading. You can also glue on additional embellishments, like ribbons or sequins, if you want to make your deer ears extra special.
Step 4: Attach the Ears to the Headband
Position the ears on the headband where you want them to sit. Use hot glue to secure them in place. Make sure the glue dries completely before wearing your deer ears.
And there you have it—your very own DIY deer ears! wasn't that fun? Now let's explore some extra tips to take your crafting skills to the next level.
Tips for Perfecting Your DIY Deer Ears
While the basic steps are pretty straightforward, here are a few tips to help you refine your deer ears and make them look even better:
- Use a hot glue gun with a low-heat setting to avoid burning the fabric.
- Experiment with different textures and patterns to give your deer ears a unique look.
- If you're planning to wear them for an extended period, consider adding padding to the headband for comfort.
Common Mistakes to Avoid
Even the best crafters make mistakes sometimes, but don’t worry—learning from them is part of the process. Here are a few common pitfalls to watch out for:
- Cutting the foam too thin, which can make the ears flimsy.
- Not securing the fabric tightly enough, leading to wrinkles or loose edges.
- Using too much glue, which can make the ears stiff and uncomfortable.
Remember, practice makes perfect, so don’t be discouraged if your first attempt isn’t flawless. Keep trying, and you’ll get the hang of it in no time!
How to Customize Your Deer Ears
One of the coolest things about DIY projects is the ability to customize them to your heart’s content. Here are some ideas to inspire your creativity:
- Go for a bold color palette with bright neon fabrics.
- Add glitter or shimmer for a magical touch.
- Experiment with different ear shapes, like rabbit or fox ears, for a fun twist.
The possibilities are endless, so let your imagination run wild!
DIY Deer Ears for Kids
If you’re crafting with kids, there are a few adjustments you can make to simplify the process. For example, you can use fabric glue instead of a hot glue gun to avoid burns. You can also pre-cut the foam shapes to save time and ensure safety.
Kids love getting involved in creative projects, and making deer ears together can be a fantastic bonding activity. Plus, they’ll be thrilled to show off their handmade accessories to friends and family.
DIY Deer Ears for Special Occasions
Whether you’re attending a cosplay convention, a themed party, or just want to add a touch of whimsy to your everyday look, DIY deer ears can elevate your outfit. Here are a few ideas for special occasions:
- Halloween: Go for a spooky or eerie design with dark colors and sharp edges.
- Weddings: Create delicate, elegant deer ears with lace or satin fabrics.
- Music Festivals: Add neon or glow-in-the-dark elements for a vibrant look.
No matter the occasion, your DIY deer ears are sure to turn heads and start conversations.
Where to Find Inspiration for Your Deer Ears
Need a little inspiration? Look no further! Pinterest, Instagram, and YouTube are packed with amazing ideas for DIY deer ears. You can also check out crafting blogs and forums for tips and tricks from fellow crafters.
Don’t be afraid to mix and match different styles to create something entirely unique. After all, the beauty of DIY projects is the freedom to express yourself.
Final Thoughts: Get Crafting and Have Fun!
Creating DIY deer ears is a fun and rewarding project that anyone can enjoy. By following this step-by-step guide, you’ll be able to craft your own deer ears that are perfect for cosplay, parties, or just a fun day out. Remember to have fun, experiment with different materials and designs, and most importantly, be proud of your creations!
So, what are you waiting for? Gather your materials, roll up your sleeves, and let’s get crafting! Don’t forget to share your creations with us in the comments below or on social media. And if you enjoyed this guide, be sure to check out our other articles for more crafting inspiration.
Table of Contents
Here’s a quick overview of the sections we covered, complete with links for easy navigation:
- Why DIY Deer Ears Are Worth the Effort
- What You’ll Need to Create DIY Deer Ears
- Step-by-Step Guide: How to Create DIY Deer Ears
- Tips for Perfecting Your DIY Deer Ears
- Common Mistakes to Avoid
- How to Customize Your Deer Ears
- DIY Deer Ears for Kids
- DIY Deer Ears for Special Occasions
- Where to Find Inspiration for Your Deer Ears
- Final Thoughts: Get Crafting and Have Fun!

How To Create Diy Deer Ears A Stepbystep Guide For Cosplay And Fun
How To Create DIY Deer Ears A StepbyStep Guide For Cosplay And Fun

How To Create DIY Deer Ears A StepbyStep Guide For Cosplay And Fun
