Mastering The Proper Arm Curl Form: Tips And Techniques For Success
Let’s be real here—arm curls are like the unsung heroes of your workout routine. But if you’re not doing them right, you might as well be lifting a water bottle instead of those dumbbells. Proper form is crucial, not just for getting swole but also for avoiding injuries that could sideline your fitness journey faster than you can say “rep.” So, buckle up, because we’re about to dive deep into mastering the proper arm curl form. It’s not just about moving weights; it’s about doing it right.
Listen up, folks. Arm curls are one of those exercises that seem simple on the surface, but they’re actually a technical beast if you don’t approach them with the right mindset. You might think you’ve got the hang of it, but trust me, there’s always room for improvement. Whether you’re a gym newbie or a seasoned lifter, nailing the perfect curl form is a game-changer for your arm gains and overall strength.
So why should you care? Because mastering proper arm curl form isn’t just about building biceps—it’s about setting the foundation for a stronger, healthier you. Let’s get into it and break down everything you need to know to make those curls count.
- Updates On P Diddy The Evolution Of A Music Mogul
- Bishop Td Jakes And P Diddy A Deep Dive Into Their Impact And Influence
Why Mastering Arm Curl Form Matters
Preventing Injuries
Let’s get one thing straight—bad form is like inviting trouble into your workout session. Swinging those weights like you’re auditioning for a circus act might feel cool in the moment, but it’s a recipe for disaster. Improper technique can lead to strains, sprains, and even long-term damage to your shoulders, elbows, and wrists. Yikes!
When you focus on mastering the proper arm curl form, you’re not just protecting yourself from injuries—you’re also ensuring that every rep is working the right muscles. No more wasted effort or unnecessary pain. It’s all about lifting smart, not just hard.
Maximizing Muscle Engagement
Here’s the truth—your biceps won’t grow unless you’re actually engaging them. If your form is off, chances are you’re compensating with other muscles, like your back or shoulders. That’s like trying to charge your phone with the wrong cable—it just doesn’t work.
- P Diddy House Raids An Indepth Look At The Controversies And Implications
- Wale P Diddy The Rise And Influence Of A Hiphop Icon
By perfecting your arm curl form, you ensure that the tension stays where it should be—on your biceps. This means more effective workouts, faster progress, and those gains you’ve been dreaming of. Who doesn’t want that?
Common Mistakes to Avoid
1. Using Momentum Instead of Strength
Momentum is your enemy when it comes to curls. Swinging those weights up and down might make you feel like a beast, but it’s actually robbing you of results. Instead of relying on momentum, focus on controlled movements. Lift the weight slowly, pause at the top, and lower it with intention. It’s all about quality over quantity.
2. Overextending Your Elbows
Locking out your elbows might feel like you’re completing the movement, but it’s actually taking the tension off your biceps. Keep a slight bend in your elbows throughout the entire motion to maintain that sweet muscle engagement. Trust me, your arms will thank you later.
3. Ignoring Your Core
Your core isn’t just for abs—it plays a crucial role in stabilizing your body during curls. If you’re swaying back and forth or leaning excessively, you’re not engaging your core properly. Stand tall, tighten your abs, and focus on keeping your body steady. It’s all about balance, folks.
Step-by-Step Guide to Perfect Arm Curl Form
Setting Up for Success
Before you even pick up those weights, make sure you’re in the right position. Stand with your feet shoulder-width apart, engage your core, and keep your shoulders back. Your posture is key to maintaining proper form throughout the exercise.
Choose a weight that challenges you but allows you to maintain control. If you can’t complete a rep without swinging, it’s too heavy. Remember, ego lifting won’t get you anywhere. Stick to weights that let you focus on form, not just numbers.
The Lift Phase
Now for the fun part—lifting the weight! Start with your arms fully extended, palms facing forward. As you lift the weight, keep your elbows tucked in and avoid letting them flare out. Imagine your elbows are glued to your sides.
Exhale as you lift, and focus on squeezing your biceps at the top of the movement. Hold for a second to really feel that contraction before lowering the weight back down. Control is key here—don’t just drop the weight like it’s hot.
The Lower Phase
Lowering the weight is just as important as lifting it. Inhale as you slowly bring the weight back down, keeping your elbows fixed in place. Don’t let the weight pull you down—resist the motion and maintain that tension on your biceps. It’s all about the mind-muscle connection, baby.
Tips for Mastering Arm Curl Form
1. Start Light
Don’t be in a rush to lift heavy weights right off the bat. Starting with lighter weights allows you to focus on form without the added stress of heavy loads. As you get more comfortable, gradually increase the weight while maintaining proper technique.
2. Use a Mirror
Mirrors aren’t just for vanity—they’re a powerful tool for form correction. Watch yourself as you perform each rep and make adjustments as needed. If you notice any wobbling or swinging, take a step back and reevaluate your technique.
3. Incorporate Variations
Switch things up by trying different types of curls, like hammer curls or concentration curls. These variations target different parts of your biceps and can help you develop a well-rounded arm workout. Plus, they keep things interesting so you don’t get bored.
Advanced Techniques for Better Results
1. Tempo Training
Tempo training involves slowing down your movements to increase time under tension. For example, lift the weight for a count of two, hold for two, and lower for four. This method forces your muscles to work harder and can lead to faster gains.
2. Isometric Holds
Isometric holds involve pausing at specific points in the movement to increase muscle activation. Try holding the weight at the top of the curl for a few seconds before lowering it back down. This simple tweak can make a big difference in your progress.
3. Supersets and Drop Sets
Supersets involve pairing two exercises back-to-back without rest, while drop sets involve reducing the weight after reaching failure to extend the set. Both techniques can help you push past plateaus and take your arm game to the next level.
The Science Behind Arm Curls
Understanding Muscle Anatomy
To truly master arm curls, it helps to understand the muscles involved. The biceps brachii is the primary muscle targeted during curls, but it’s not the only one. The brachialis and brachioradialis also play key roles in elbow flexion. By engaging all these muscles, you can maximize your gains and develop stronger, more defined arms.
The Role of Biomechanics
Biomechanics is the science of movement, and it’s crucial for understanding how to perform exercises correctly. Proper alignment, joint angles, and muscle activation all contribute to effective biomechanics. By paying attention to these factors, you can ensure that your curls are as efficient as possible.
Sample Workout Plan
Day 1: Bicep Focus
- Barbell Curls – 4 sets of 8-12 reps
- Hammer Curls – 3 sets of 10-12 reps
- Concentration Curls – 3 sets of 12-15 reps
- Preacher Curls – 3 sets of 10-12 reps
Day 2: Superset Madness
- Barbell Curls + Hammer Curls – 3 supersets of 8-10 reps each
- Concentration Curls + Zottman Curls – 3 supersets of 10-12 reps each
Staying Motivated and Consistent
Setting Realistic Goals
Progress doesn’t happen overnight, so it’s important to set realistic goals for yourself. Whether it’s increasing your weights, improving your form, or building muscle, having clear objectives can keep you motivated and focused.
Tracking Your Progress
Keep a workout journal to track your progress over time. Write down your weights, reps, and sets for each exercise, and note any improvements you notice. Seeing how far you’ve come can be a powerful motivator to keep pushing forward.
Conclusion
Mastering the proper arm curl form isn’t just about lifting weights—it’s about building a stronger, healthier you. By focusing on technique, avoiding common mistakes, and incorporating advanced techniques, you can take your arm workouts to the next level. Remember, consistency is key, so stay committed and watch those gains roll in.
So what are you waiting for? Grab those dumbbells and get to work. And don’t forget to share this article with your fitness crew—they’ll thank you later. Now go out there and show those curls who’s boss!
Table of Contents
- Why Mastering Arm Curl Form Matters
- Common Mistakes to Avoid
- Step-by-Step Guide to Perfect Arm Curl Form
- Tips for Mastering Arm Curl Form
- Advanced Techniques for Better Results
- The Science Behind Arm Curls
- Sample Workout Plan
- Staying Motivated and Consistent
- Conclusion
- Meek Mill And P Diddy A Deep Dive Into Their Relationship And Impact On Hiphop Culture
- P Diddy The Journey Of A Music Mogul And Entrepreneur

Single Arm Curl
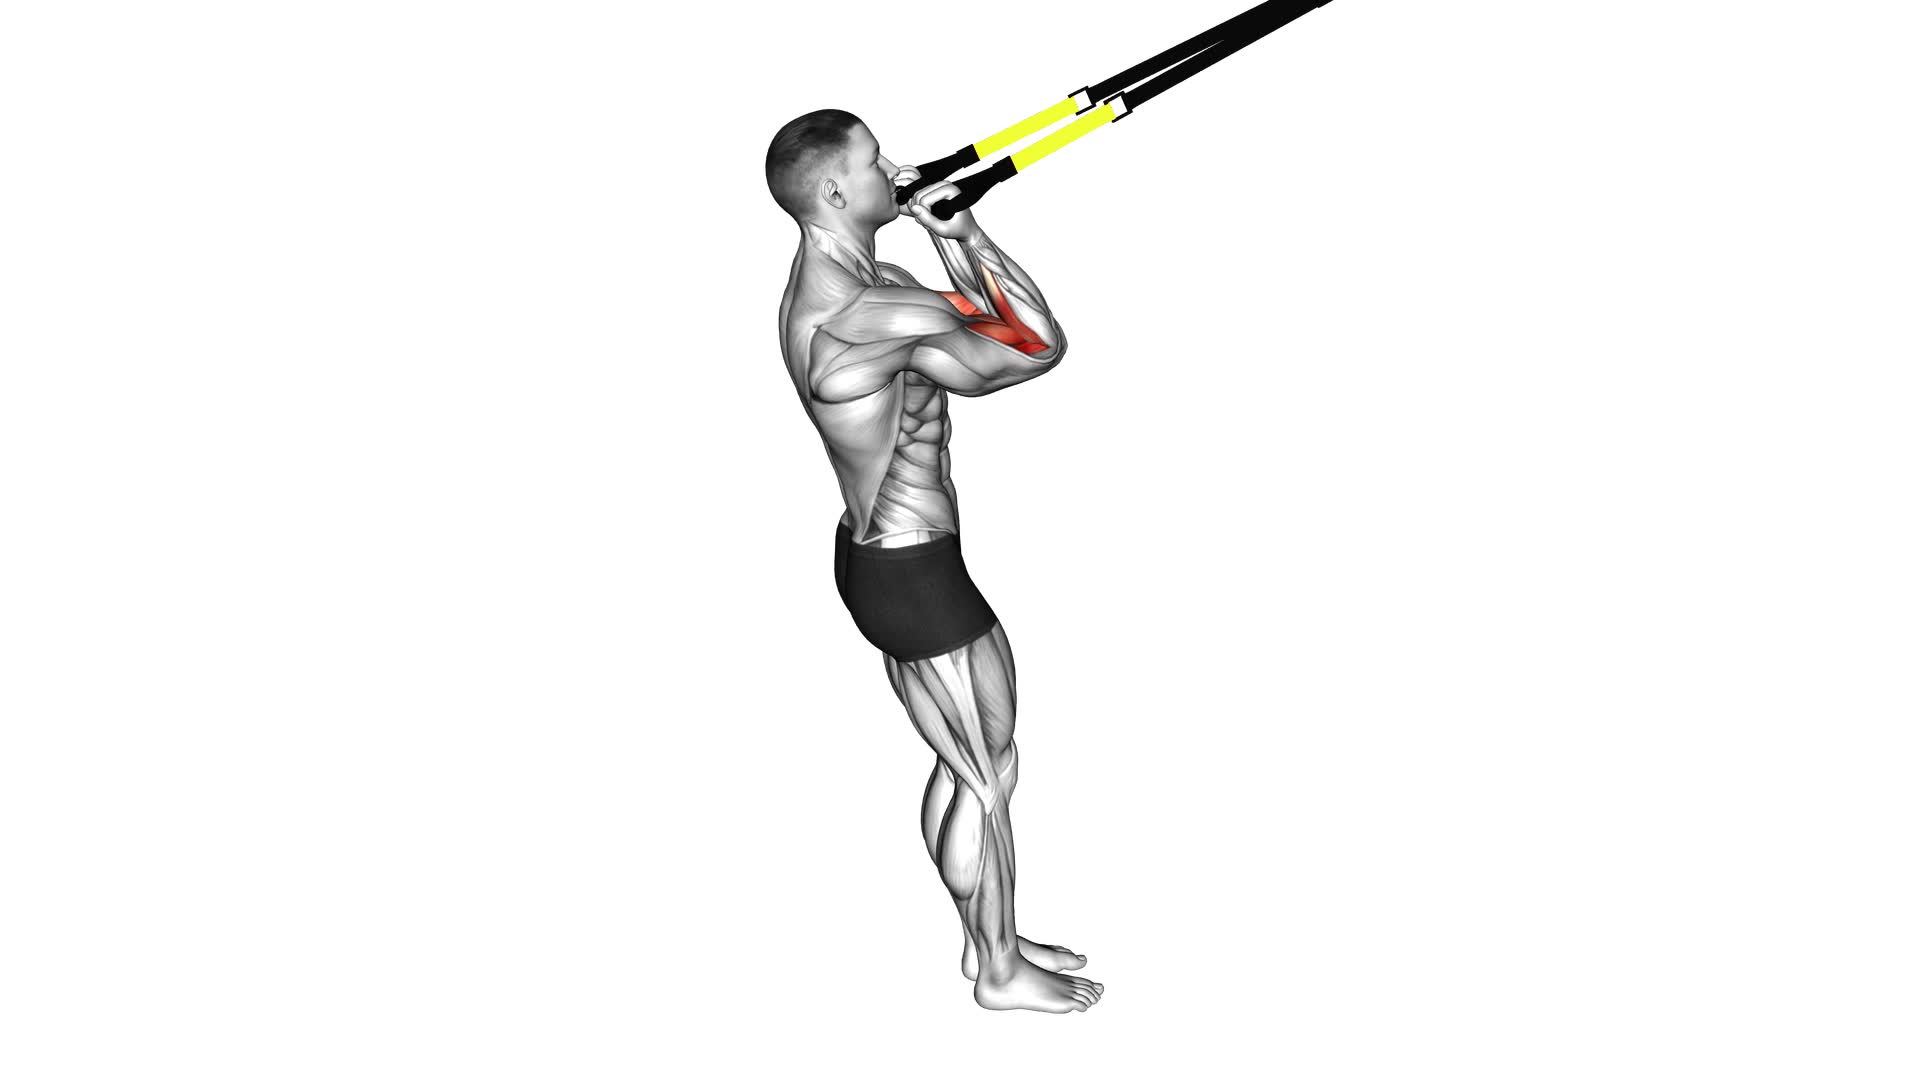
Master The Suspender Arm Curl Video Guide & Tips

Jerai Fitness Arm Curl
