Stunning And Easy Drawing Of A Rose: A Beginner's Guide
Learning how to draw a rose might seem like a daunting task, but trust me, it’s not as scary as it sounds. Roses have this magical quality that makes them look intricate, but with a little guidance and practice, even a complete beginner can create something beautiful. Whether you're picking up a pencil for the first time or just want to improve your skills, this guide will walk you through every step of drawing a stunning rose that's surprisingly easy to achieve. So, let's dive in and make art fun!
Drawing a rose doesn’t require you to be a Picasso or Van Gogh. All you need is patience, a few basic tools, and a willingness to experiment. The beauty of roses lies in their simplicity and symmetry, which makes them perfect for beginners who want to practice shapes, lines, and shading. By the end of this guide, you’ll have a drawing that you can proudly show off to your friends or hang on your wall.
This guide isn’t just about drawing a rose; it’s about building confidence in your artistic abilities. Even if you’ve never drawn anything before, don’t worry! We’ll break everything down into bite-sized steps so you can follow along effortlessly. Let’s make this journey enjoyable and memorable!
- P Diddy Arrested Yet The Latest Updates And Insights
- P Diddy Married To Exploring The Life And Relationships Of Sean Combs
Why Drawing a Rose is Perfect for Beginners
Let’s face it—roses are iconic. They symbolize love, beauty, and elegance, making them a popular subject in art. But why are they great for beginners? For starters, roses have a predictable structure. Their petals follow a natural flow, and once you understand the basic shapes, you can replicate them easily. Plus, they’re forgiving! If one petal doesn’t turn out exactly how you wanted, it adds character to your drawing.
Another reason roses are perfect for beginners is that they allow you to practice essential techniques like shading, layering, and blending. These skills are transferable to other subjects, so mastering them with a rose will set you up for success in your future artistic endeavors.
Benefits of Starting with Simple Subjects
Starting with simple subjects like roses helps build a solid foundation. Here are some benefits:
- P Diddy Political Influence A Look Into His Impact And Engagement In Politics
- Why Is Everyone Talking About P Diddy
- Confidence Boost: Completing a drawing gives you a sense of accomplishment.
- Improved Hand-Eye Coordination: Drawing regularly enhances your ability to translate what you see onto paper.
- Patience and Focus: Art teaches you to slow down and appreciate the process.
Remember, every artist started somewhere. The key is to keep practicing and enjoying the journey.
What You’ll Need to Get Started
Before we jump into the nitty-gritty of drawing, let’s talk about the tools you’ll need. Don’t worry; you don’t have to break the bank to get started. Here’s a list of essentials:
- Pencils (HB, 2B, 4B, and 6B)
- A good eraser (kneaded erasers work wonders)
- Sketchbook or drawing paper
- Blending tools (optional, like blending stumps or tortillons)
- A reference image (you can find plenty of free rose images online)
These tools will give you the flexibility to experiment with different techniques and styles. As you progress, you might want to invest in higher-quality materials, but for now, these basics will do just fine.
Tips for Choosing the Right Materials
When selecting your materials, consider the following:
- Pencil Grades: Different grades offer varying levels of darkness and texture. Start with an HB pencil for light outlines and move to darker grades for shading.
- Paper Quality: Choose paper that can handle multiple layers of graphite without tearing.
- Erasers: Kneaded erasers are excellent for lifting graphite and creating highlights.
Investing in quality materials can significantly improve your experience and results. However, don’t let the lack of fancy tools stop you from getting started!
Understanding the Anatomy of a Rose
To draw a convincing rose, it’s important to understand its anatomy. Roses may look complex, but they’re made up of simple shapes that work together harmoniously. Here’s a breakdown:
- Petals: The most prominent feature of a rose. They overlap in a spiral pattern, creating depth and dimension.
- Stem: Long and slender, often featuring thorns that add texture.
- Leaves: Typically arranged in groups of three or five, with serrated edges.
By studying these components, you’ll be able to recreate a realistic rose with ease.
Breaking Down the Structure
Let’s simplify the process further:
- Start with a circular shape for the center of the rose.
- Add layers of petals around the circle, gradually increasing their size.
- Sketch the stem and leaves last to balance the composition.
Understanding the structure will make your drawing process smoother and more enjoyable.
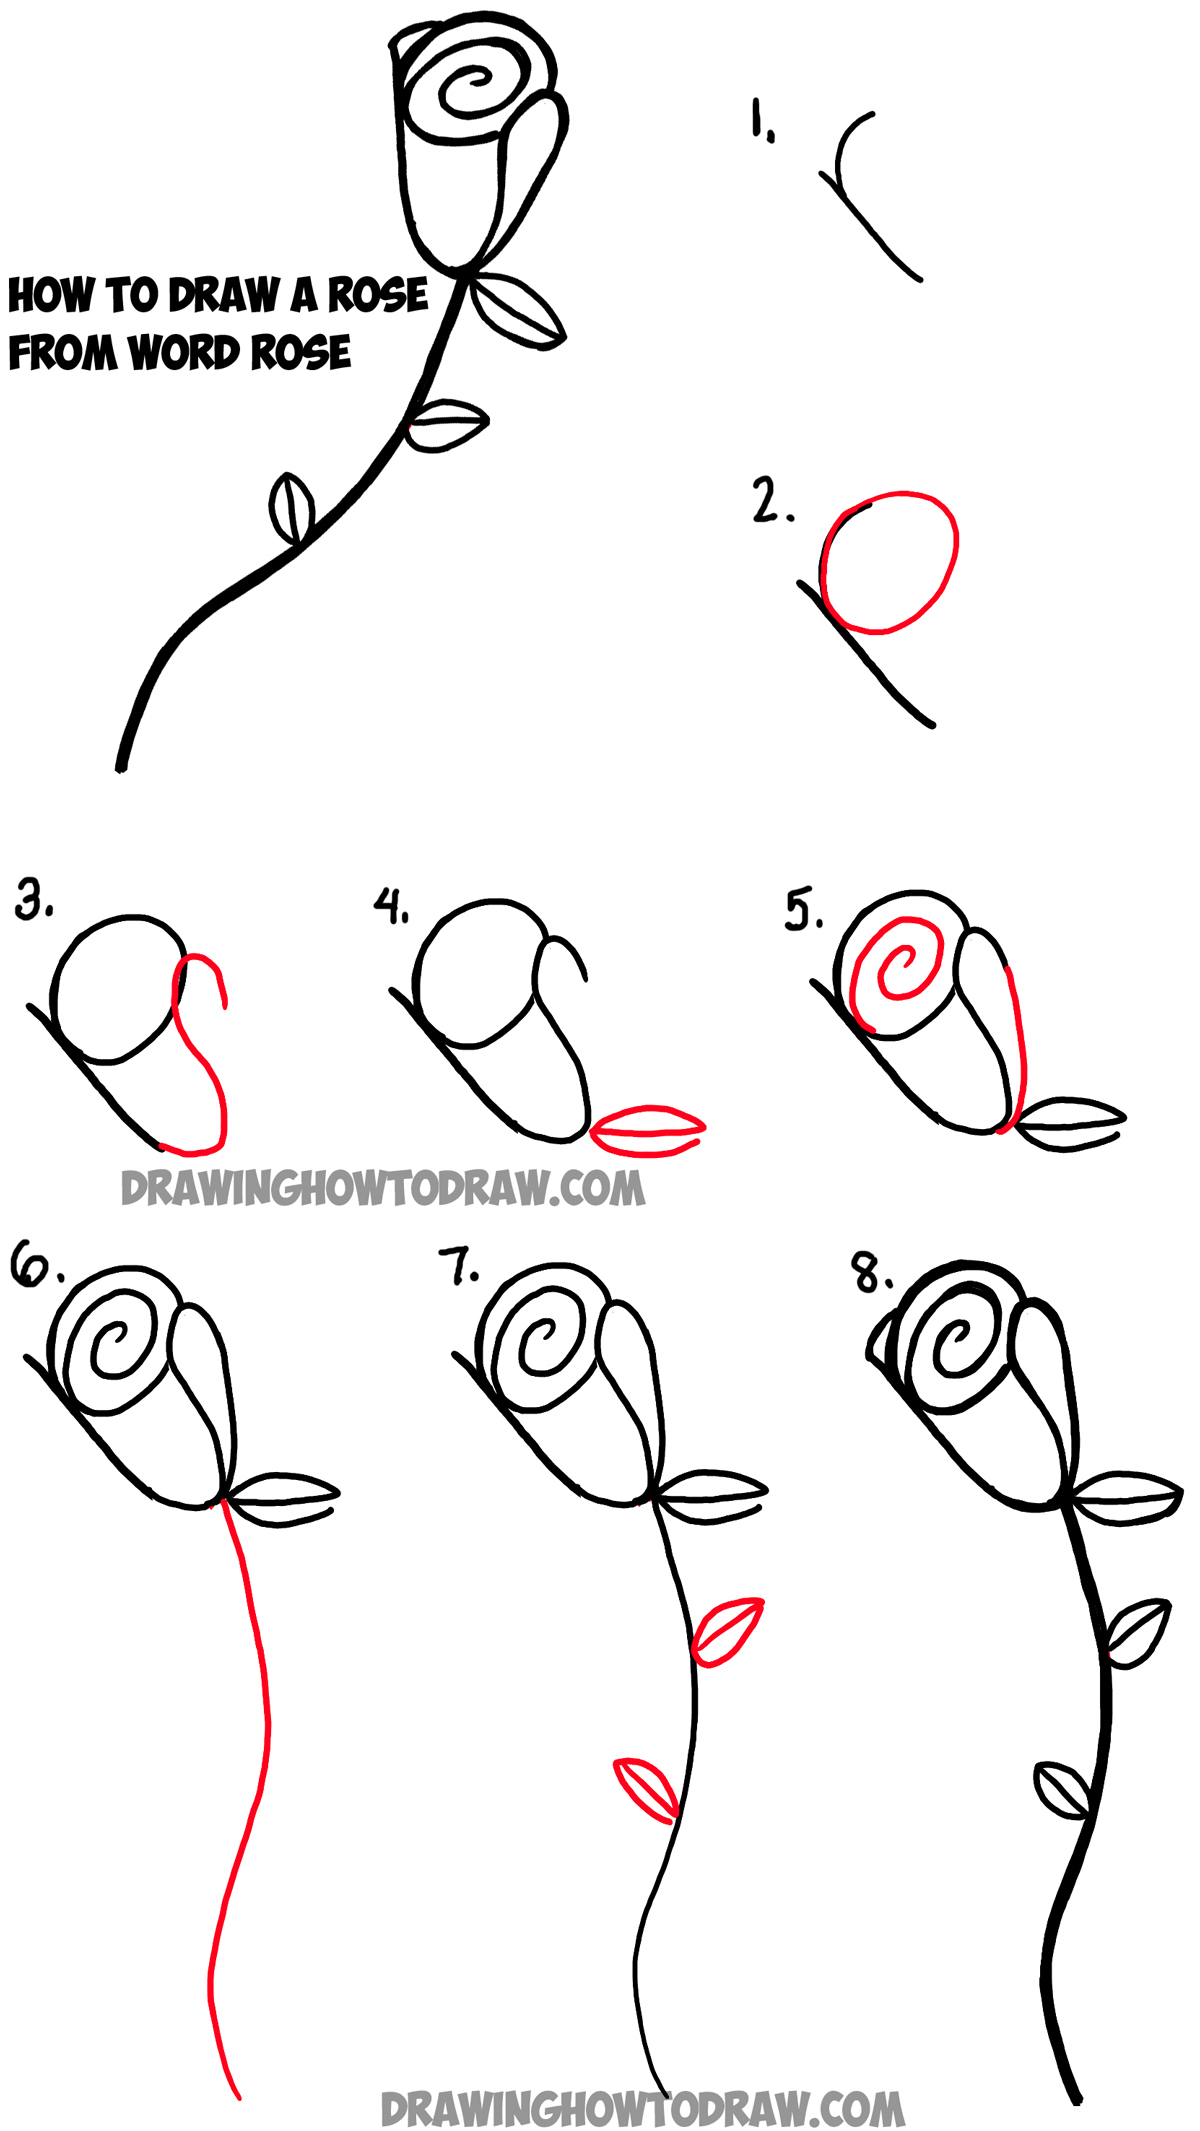
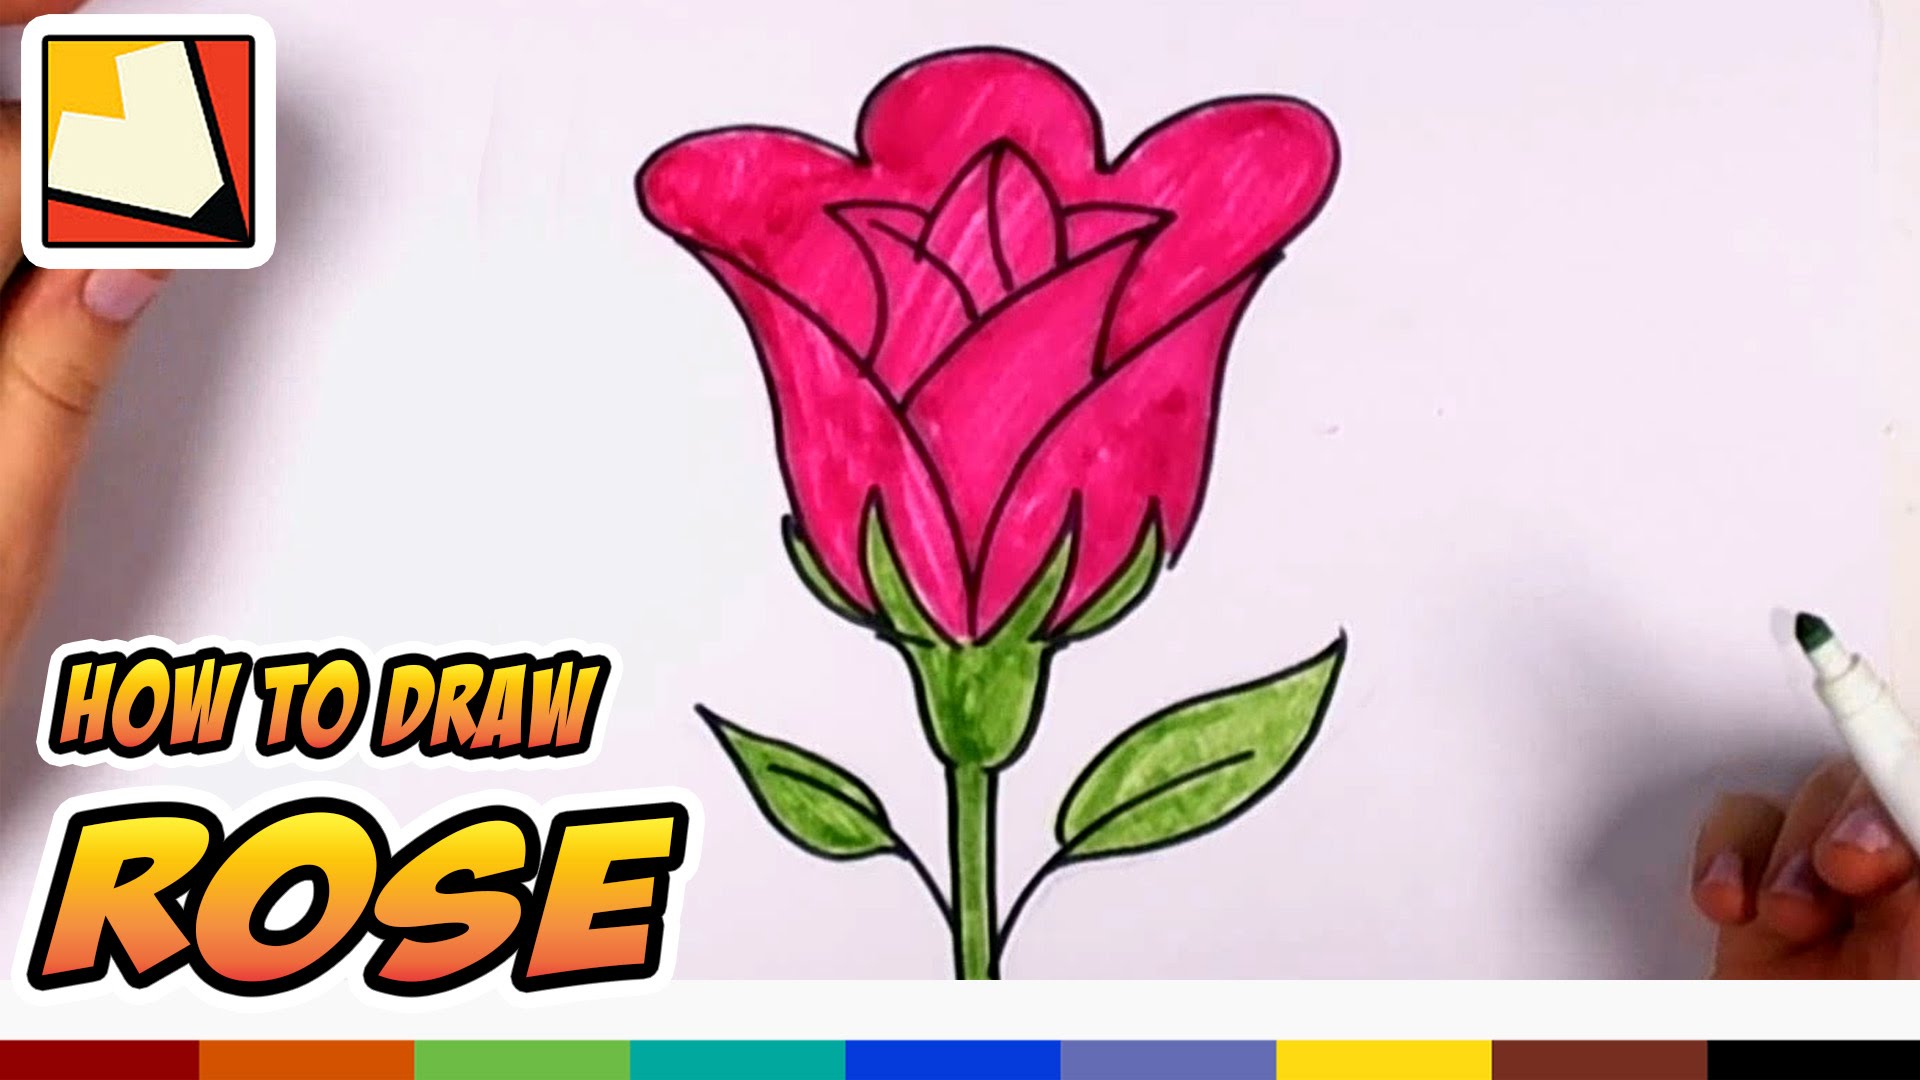
Step-by-Step Guide to Drawing a Rose
Now that you have your materials and understand the anatomy of a rose, let’s dive into the step-by-step process:
Step 1: Create the Basic Shape
Begin by lightly sketching a small circle in the center of your paper. This will serve as the base for your rose. Think of it as the bud where all the petals will grow from.
Step 2: Add the First Layer of Petals
Draw three curved lines extending outward from the circle. These will form the first layer of petals. Make sure they overlap slightly to create a natural look.
Step 3: Layer More Petals
Continue adding petals in a spiral pattern, ensuring each layer is slightly larger than the previous one. This will give your rose depth and dimension.
Step 4: Define the Stem
Once you’re happy with the petals, sketch a long, curved line for the stem. Add a few thorns along the way to give it character.
Step 5: Add Leaves
Draw a cluster of leaves at the base of the stem. Use simple shapes with serrated edges to mimic real leaves.
Step 6: Refine Your Lines
Erase any unnecessary guidelines and refine your drawing. Make sure the petals flow naturally and the stem looks sturdy.
Step 7: Shade and Add Texture
Using your darker pencils, start shading the petals to create shadows and highlights. Focus on areas where petals overlap to add depth. Don’t forget to shade the stem and leaves as well.
And there you have it—a stunning rose drawing that’s easy to create!
Common Mistakes to Avoid
Even the best artists make mistakes, but knowing what to look out for can save you time and frustration. Here are some common pitfalls to avoid:
- Pressing Too Hard: Start with light strokes and gradually build up pressure for darker lines.
- Ignoring Proportions: Keep an eye on the size and placement of each element to ensure balance.
- Overcomplicating: Remember, simplicity is key. Don’t try to add too many details at once.
By being mindful of these mistakes, you’ll improve your skills faster and enjoy the process more.
Tips for Adding Personality to Your Rose
While following a guide is helpful, don’t be afraid to add your own flair. Here are some ideas:
- Experiment with different shading techniques, such as cross-hatching or stippling.
- Try drawing roses in various stages of bloom, from tight buds to fully opened flowers.
- Add color using colored pencils or watercolors to bring your rose to life.
Making your drawing unique will make it even more special and rewarding.
Where to Find Inspiration
When you’re stuck or need inspiration, look no further than nature itself. Visit a local garden or park to observe real roses up close. Pay attention to how the light hits the petals and how the shadows fall. You can also browse online galleries or art books for ideas.
Remember, inspiration is everywhere. Keep an open mind and let your creativity flow!
Final Thoughts and Call to Action
Drawing a rose might seem intimidating at first, but with this guide, you now have all the tools and knowledge to create something truly stunning. Practice regularly, stay patient, and most importantly, have fun! Art is a journey, not a destination.
Now it’s your turn. Grab your pencil and paper, and start drawing. Don’t forget to share your masterpiece with us in the comments below. We’d love to see how you’ve put your own spin on this classic subject. Happy drawing!
Table of Contents:
- Why Drawing a Rose is Perfect for Beginners
- Benefits of Starting with Simple Subjects
- What You’ll Need to Get Started
- Tips for Choosing the Right Materials
- Understanding the Anatomy of a Rose
- Breaking Down the Structure
- Step-by-Step Guide to Drawing a Rose
- Common Mistakes to Avoid
- Tips for Adding Personality to Your Rose
- Where to Find Inspiration
- P Diddy And Dr Dre The Titans Of Hiphop And Their Lasting Impact On Music
- P Diddy Naked Basketball The Untold Story Behind The Viral Moment

How to Draw a Red Rose Step by Step Guide
Rose Drawing Steps Beginners at Explore collection
Rose For Beginners Drawing at Free for personal use
